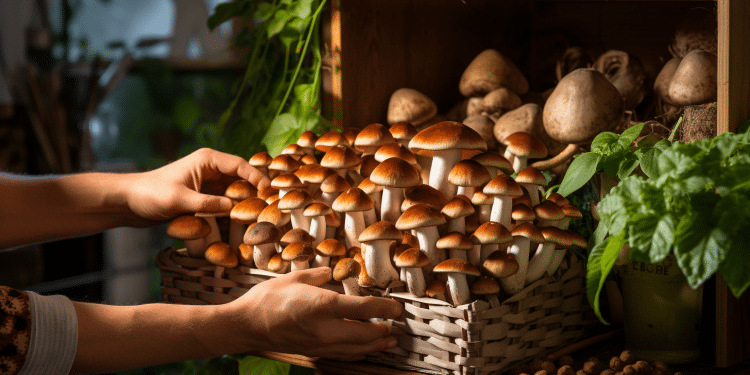
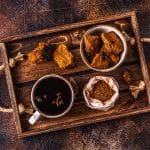
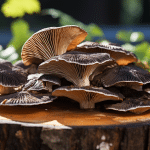
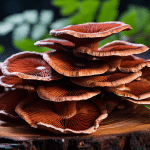
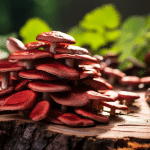
Welcome to our how-to-grow regarding chestnut mushrooms, in which we will delve deep into the details of growing fungi species, from a petri dish all the way up to a mushrooms fruiting body. Last week, we delved to the depths of the ocean to cover oyster mushrooms. This week, we are toasting chestnut mushrooms over an open flame. So, get out the pokers and let the fires roar; it is time to find out how to grow chestnut mushrooms at home from our friends at FreshCap:
Cousins of the slimy nameko mushrooms (Pholiota nameko), chestnut mushrooms (Pholiota adiposa) are rapidly growing in popularity for their unique texture and nutty flavor. But good luck finding any of these. They are tough to come by except on the stands of local mushroom farmers.
That is, unless you figure out how to grow chestnut mushrooms on your own! And believe me, it is an interesting mushroom to grow.
How to Grow Chestnut Mushroom Cultures
Do you call Europe your home? Then head out to the woods for a fall harvest of wild chestnuts. As we always say, local wild cultures are always best, as not only are they suitable for your local climate, they are resistant to your local pathogens and pests.
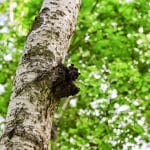
Not sure where to begin? Searching beech trees across northwestern Europe and the British Isles.
Chestnut mushrooms are saprophytic, meaning that they like to feast on decomposing organic material, and can parasitize on beech trees, meaning that they feed on beech trees. Some have had success in locating the wild specimen in Northwestern states of the Pacific Rim, but these discoveries are more the exception than the rule. Usually, that is the part of the story where we tell you can even purchase fresh chestnut mushrooms and clone them yourself. But, whereas that works great for mushrooms such as Lions Mane or Oyster, our attempts to clone the chestnut mushrooms were not too successful. That is why we think it is best to buy the culture from a trusted supplier the first time you learn to grow chestnut mushrooms.
Chestnut Mushroom Mycelium
Chestnut mushrooms are more of a wintery mushroom, and as such, sometimes they grow their mycelium a little slower, even on your agar plates. Do not worry, though; they grow very well on our malt yeast agar media. Honestly, my search on how to grow mushrooms at home did not turn up a lot about this budding species, so if you have grown them any other way, or you have got any tried, tested, and true techniques, please contact us!
At this point, an ideal incubation temperature is about 68F (20C).
Growing Chestnut Mushrooms on Grains
Millet, wheat, and rye appear to do quite well in growing chestnut mushrooms, but, again, research is somewhat scarce. Again, we want to help folks learn to grow chestnut mushrooms the best way possible, so give us a shout if you have any information.
What we do know, based on our experience, is that sometimes this mushrooms mycelium will look yellowish after some time. Do not worry, it does not necessarily mean that it is infected. It is just something that seems to happen when you grow.
At that stage, 72F (22C) is the optimum, although slightly higher temperatures won’t harm the mycelium. Just be sure to factor in thermogenesis.
How to Grow Chestnut Mushrooms in Bags
Since chestnut mushrooms grow naturally in the hardwood, their favorite base is certainly the same as that of most other edible, culinary mushrooms: hardwood wood chips. Like lions mane and oyster mushrooms, you can opt for the master mix recipe (20% hardwood fuel pellets, 20% soybean shells, 60% weight of water) or just add 10% nitrogen-containing supplements to hardwood sawdust.
Here in Guatemala, when learning to grow chestnut mushrooms, we used cacao shells because they are free, and in addition to their nitrogen content, full of other cacao-like goodies we thought would make it into the mushrooms! But chestnuts are more than able to grow wonderfully on straw as well. This is a big deal for us, since hardwood straw is a total pain in the ass to get.
Heres a thought for our Western European brothers. If you live there, or any place that has natural growth of P. adiposa, you will want to inoculate a few beech logs or another hardwood with the mushroom mycelium of the Chestnut mushroom, then place it in the garden! Mushroom logs are best placed like an anchor in the soil, as this keeps them near the soil, as they would be in their natural habitat.
With mushroom logs, you may not have mushrooms for one to two years. If you are making Chestnut Mushroom Growing Bags with supplemental hardwood sawdust, an ideal temperature for incubation is 72F (22C), and the bags should be fully consumed with the mycelium, and ready for harvesting within four weeks. As is generally the case, the lower the incubation temperature, the longer this will take. Again, do not raise your temperature thinking that will accelerate the growth, however. This often ends up superheating your mycelium and killing it.
Chestnut Mushroom Fruiting
To achieve the abundant reek, it is important to realize that chestnut mushrooms prefer to produce fruit in one big cluster. So, if you are picking them out of the bag, you have two choices: Cut the top of the bag and fruit it on the top, or cut a 4-inch-long diagonal slit down the width of the bag and fruit them on the sides. Since we try to re-use our bags when we can, we usually go with the top fruiting method and lay the bag flat.
Generally, those are ideal conditions to have in your growing room as you are learning to grow chestnut mushrooms. If you don’t see any pips in a couple of days, don’t fret. They may take another couple days to form anyway. Since chestnut mushrooms require between 10 to 14 days to ripen, you will want to increase your temperature and reduce your humidity for one or two days after your first pins emerge.
There you have it, how to grow chestnut mushrooms from start to finish. While information is a little scarce, we promise that this is not terribly complicated.
