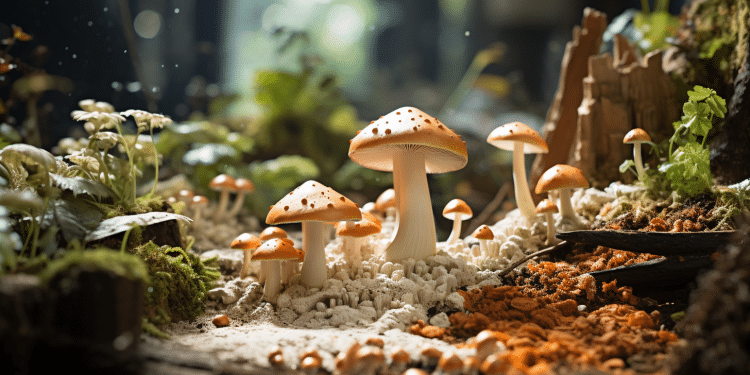
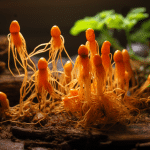
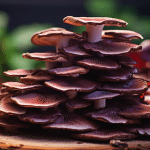
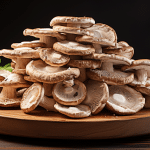
Growing mushrooms on supplementary sawdust derived from wheat sprouts is slightly more difficult than growing them on straw, but many species, like shiitake, Lions Mane, and Reishi, do far better in woody soils than in straw. Check out our write up on growing mushrooms on sawdust below, and read a brief description below.
Once you have your starters, you need some additional materials and tools to finish the job. Some are optional, but they make it much easier.
Things You’ll Need to Grow Mushrooms on Sawdust
Sawdust from Hardwood Trees: You could use hardwood wood chips, which are available locally, or the far easier alternative, hardwood pellets. The key is to use hardwoods like maple, beech, and oak. Softwoods are going to not perform nearly as well, if at all.
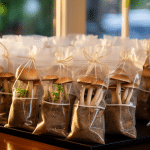
Grow Bags: To be specific, use Gusseted Autoclavable Polypropylene filter patch baggies. These are specialized bags made specifically for growing mushrooms, available in all shapes and sizes.
Pressure Cooker for Sterilization: You must sterilize your sawdust supplements with pressure, because just pasteurizing your substrates can cause contamination.
At home, a stovetop pressure cooker is best, which holds the bags you are using, and can achieve a pressure of at least 15 pounds per square inch.
A Flow Hood, if you have one: To be fair, you do not need the vented hood, but it makes things much easier. What you DO need, though, is a clean environment in which to open the bags after sterilization and add spawn. You could try using a simple still air box, which often works pretty well.
Learn more: Growing mushrooms in straw
Here’s a quick video from our friends at FreshCap that can help you as well:
Basic Steps to Get Started:
1. Combine water, hardwood wood chips or pellets, and bran supplements. Mix well and put into growing bags.
2. Pressure-sterilize grow bag for 2 1/2 hours at 15 PSI, in order to eliminate any contaminants that are present in substrate.
Skipping this step is sure to result in a failure.
3. Remove your bags and let them cool over night. Then, in a clean environment (such as the flow hood, or a SAB) add grain spawn. Use a similar proportion, 10- 20% of the spawn to the mass substrate. Seal baggies, mix thoroughly shaking.
4. Leave the bag at a room temperature on the counter for several days to weeks, until the colony is fully established. Check the entire unit again, to make sure that no leftover substrate has not already been colonized, before opening the bags.
5. Once it is completely colonized, either cut the top of the bag or cut holes on the sides of the bag and put in the environment with your fruits.
Proper growing rooms, or fruiting chambers with shotguns, are the best ones to use for fruiting blocks. How you choose to fruit your blocks will largely depend on what species of mushrooms you are trying to grow.
Learn more: How much spawn to substrate
